
Introduction
Have you ever wanted to sign your Git commits, and get the fancy Verified badge on your commits in GitHub?
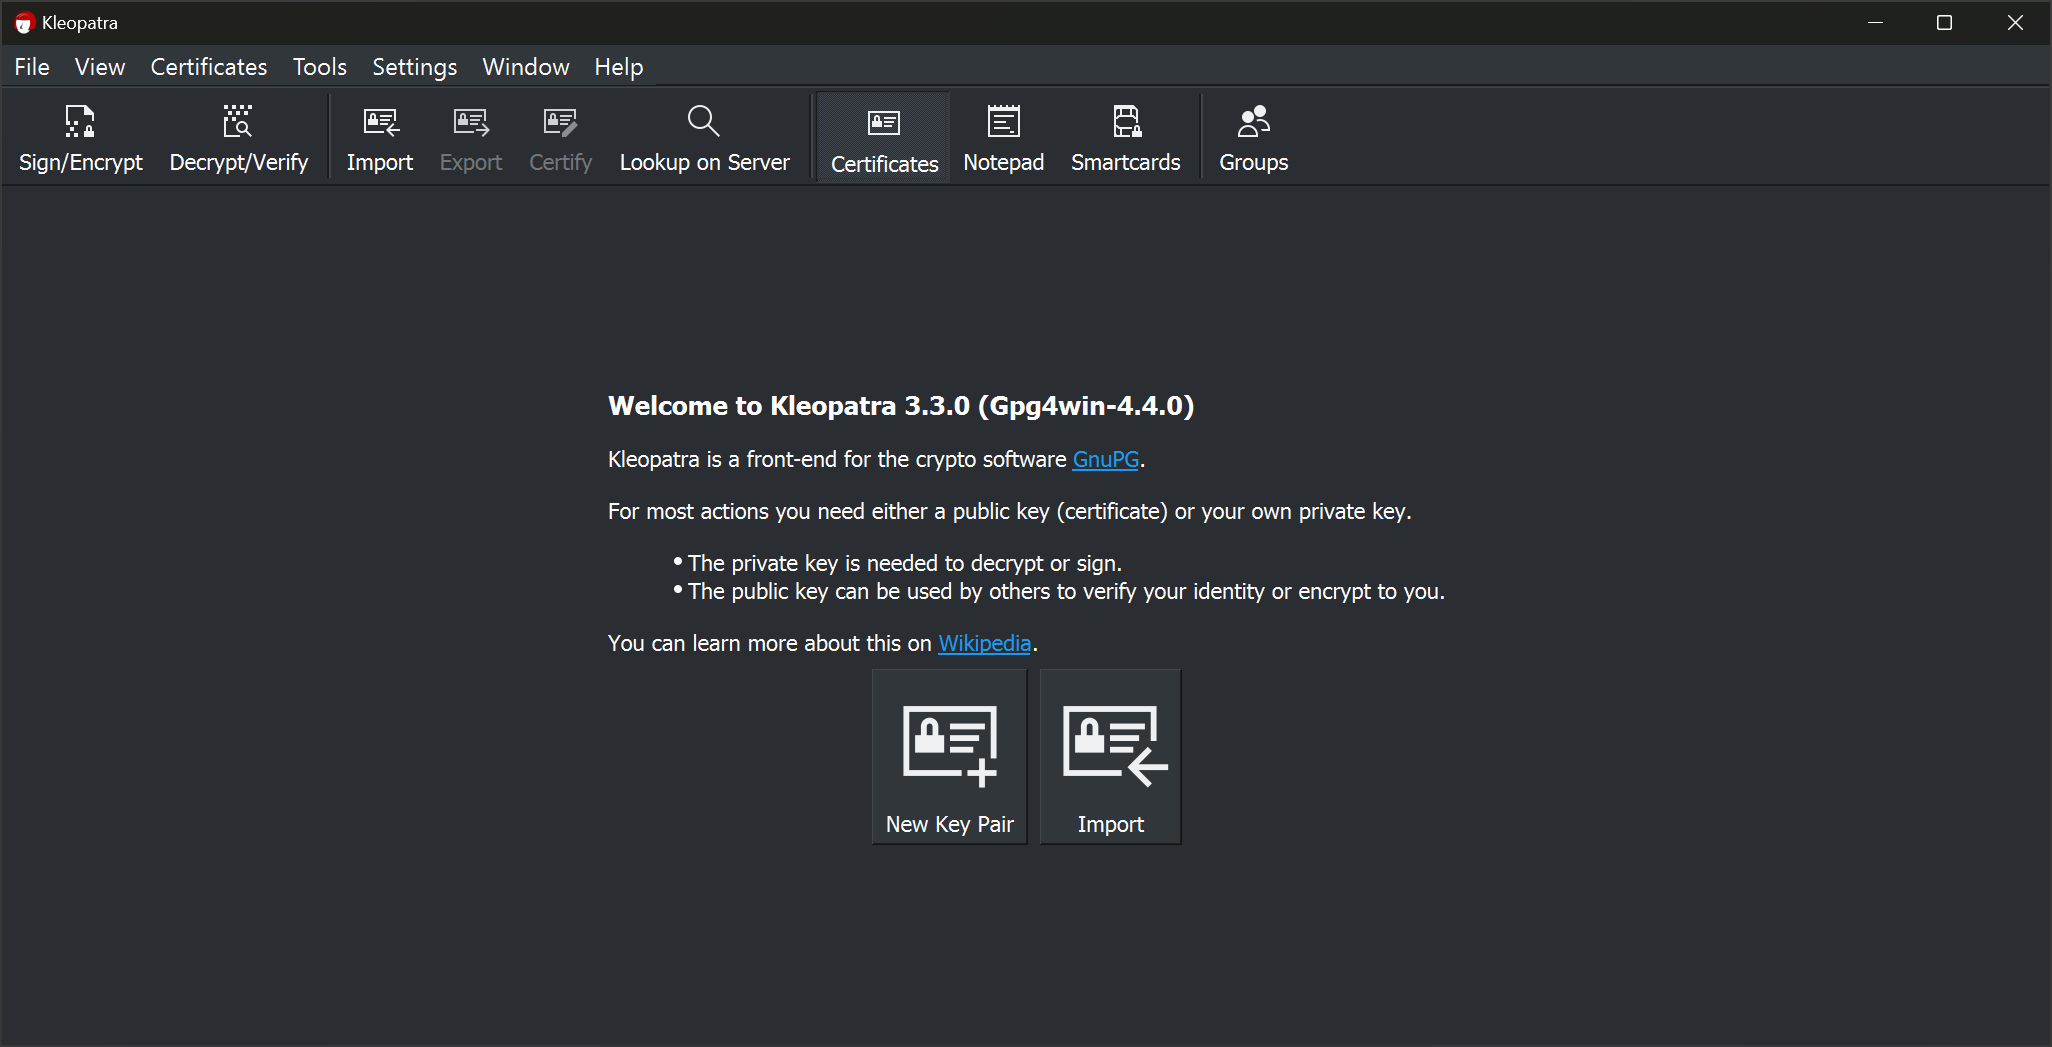
This post will show you how to sign your Git commits in Windows using GPG and Kleopatra.
Prerequisites
- Download and install Gpg4win, ensuring that Kleopatra option is selected.
Create new OpenPGP certificate
-
Open Kleopatra and select “New Key Pair”
- Enter your GitHub username and email. The email must be one you have assigned to your GitHub account. You can find your no-reply email https://github.com/settings/emails on this page if you have one set.
- Optionally, expand “Advanced Options” and change the “Key Material” option. I used “rsa4096”. You can also change or disable the expiration date.
- Select “OK”.
Configure git
-
Open terminal (cmd.exe or PowerShell) and run the following command.
gpg --list-secret-keys --keyid-format LONG -
Copy the key id.
1234567890ABCDEFis the id in the example below.sec rsa4096/1234567890ABCDEF 2024-12-08 [SC] ABCDEF1234567890ABCDEFGH1234567890ABCDEF uid [ultimate] GitHub-Username <GitHub-Email-Address> ssb rsa4096/0987654321FEDCBA 2024-12-08 [E] -
Run the following command to configure git to use the key.
git config --global user.signingkey <KEY-ID> -
If git cannot find gpg you may need to add the path to the gpg executable to your git configuration. You can find the path to gpg by running the following command.
where gpgThen add the path to your git configuration.
git config --global gpg.program "C:\Program Files (x86)\GnuPG\bin\gpg.exe" -
Run the following command to enable commit signing.
git config --global commit.gpgsign true
Configure GitHub
- Right-click the key in Kleopatra, select “Details”, then “Export”. Select all the contents and copy them.
- Go to your GitHub account settings, and select “SSH and GPG keys”.
- Click “New GPG key”. Give the key a title, and paste the contents of the public key into the key field.
- Click “Add GPG key”.
Automatically start Kleopatra
- Open the Windows Task Scheduler.
- Optionally, create a new folder for the task.
- Select the folder, and then click “Create Task”.
- Enter a name for the task, such as “Open Kleopatra”.
- Select “Run only when user is logged on”.
- Click the “Triggers” tab, then “New”.
- Select “At log on” from the “Begin the task” dropdown.
- Select “Specific user”, and click “OK”.
- Click the “Actions” tab, then “New”.
- Click “Browse”, and select the Kleopatra executable.
The default location is
"C:\Program Files (x86)\Gpg4win\bin\kleopatra.exe" - In the “Start in” field, enter
%HOMEDRIVE%%HOMEPATH%, and click “OK”. - On the “Conditions” tab, uncheck everything.
-
On the settings tab, ensure the following options are set.
- Allow task to be run on demand (checked)
- Run task as soon as possible after a scheduled start is missed (checked)
- If the task fails, restart every 1 minute (checked)
- Attempt to restart up to 3 times
- Stop the task if it runs longer than (unchecked)
- If the running task does not end when requested, force it to stop (checked)
- If the task is not scheduled to run again, delete it after (unchecked)
- If the task is already running, then the following rule applies (Do not start a new instance)
- Click “OK”.
Revoking a Key
In some cases you may need to revoke a key. To do this follow the steps below.
- Open Kleopatra, right-click on the key, and select “Revoke Certificate”.
- Select the reason for revoking the key, and click “Revoke Certificate”.
- Right-click the key again, select “Details”, then “Export”. Select all the contents and copy them.
- Go to your GitHub account settings, and select “SSH and GPG keys”.
- Remove the old key, and click “New GPG key”. Give the key a title (such as “Revoked Key”), and paste the contents of the public key into the key field.
Alternatively, this can be done via command line. See How to actually revoke a GitHub GPG key
This approach will allow previously verified commits to remain verified.
Caveats
-
Commits made before your key was created cannot be verified, even if you amend the commits. This can be annoying if you have any WIP commits that you want to amend. A simple workaround for this is to start an interactive rebase, and edit each commit to adjust. Finally, when you amend the commit do so with the following command.
git commit --amend --date=now --no-edit
Conclusion
You should now be able to sign your Git commits in Windows using GPG and Kleopatra. I’d like to give credit to Tom Auger for his blog post which helped me figure out how to do this initially.